1. Title slide
Presentation Version Date, April 20th, 2019
NWNJBA Managed Mentoring Program
Bees in the box - to - Full Grown Hive
Bees in the Box to Full Grown Colony
For this part of the program, we provide you the guidance to fully build out your colony. The session focuses on the tasks required along with guidance, information on how to perform and inspection and the goals for what to look for along with things you should anticipate seeing. There is a primer on record keeping, equipment needed, feeding, and timing of events. In teh end a hypothetical timeline is covered and there are other informational items shared throughout..
How to use this module
FOR THIS MODULE, you can
- Watch the presentation: For Part 1, starting out, mentor Kevin Inglin walks through the timeline of getting started and prepared.
- Review the refresher slide notes: Look at each of the slides and read the prepared notes and guidance that accompany each slide. This allows you to jump back to a topic quickly. You can also find the time in the presentation when this material was covered.
- Review the CHECKLIST: For each of our modules we will provide a checklist
- Access the module RESOURCES: When there are module resources, we will present them for download.
Note: These resources are presented as a supplement for after you one participates in the Part 2 session.
- They are also for our program participants who missed a session and want to get caught up on what they missed.
- If you are planning to attend an upcoming session, feel free to browse it to get a sense of what you will see but be assured we will go over with you in the presentation.
If you are just starting out....we recommend you attend the session and formally join the program, but if you are not able to do that feel free to use these resources in any what that they help you.
Recorded April 20th, 2019 - Hunterdon County Complex, building 1, Flemington NJ
Bees in the Box to Full Grown
Presenter: Kevin Inglin
Bees in the Box to Full Grown
Starts at Slide 35
Each of the Content Slides are below with accompanying notes
Note: Title and Section slides will be included in order to give sense of the organization of the content.
They will not have instructional notes so they will be respresented in a thumbnail format.
Video Timing: Each of the slides will have a note as to when in the presentation the topic was covered.
The notes are summary in nature next to the slide descriptions. To get a full sense of the topic and what was shared
we encourage you to view the video.
Presentation Version Date, April 20th, 2019
Video Timing: 0:22
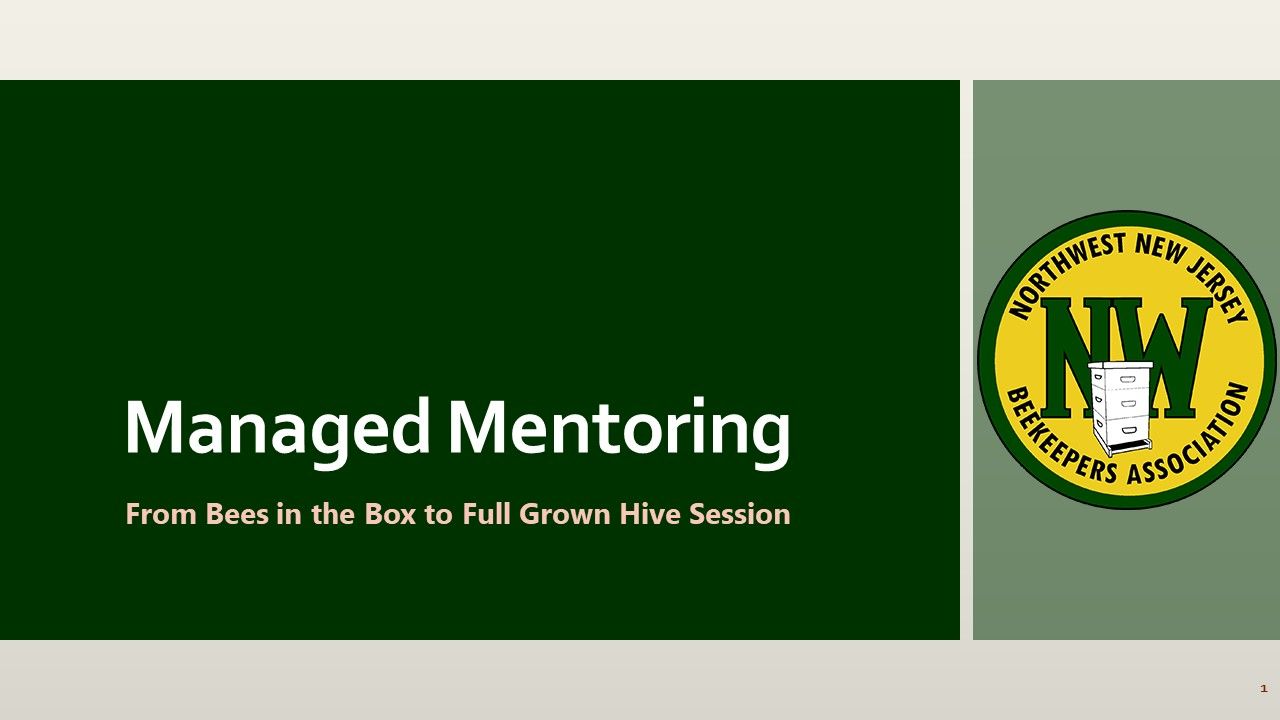
Overview of the contents of this presentation and what it covered
Notes that it is the first of many related sessions.

Video Timing: 1:20
Agenda of the session
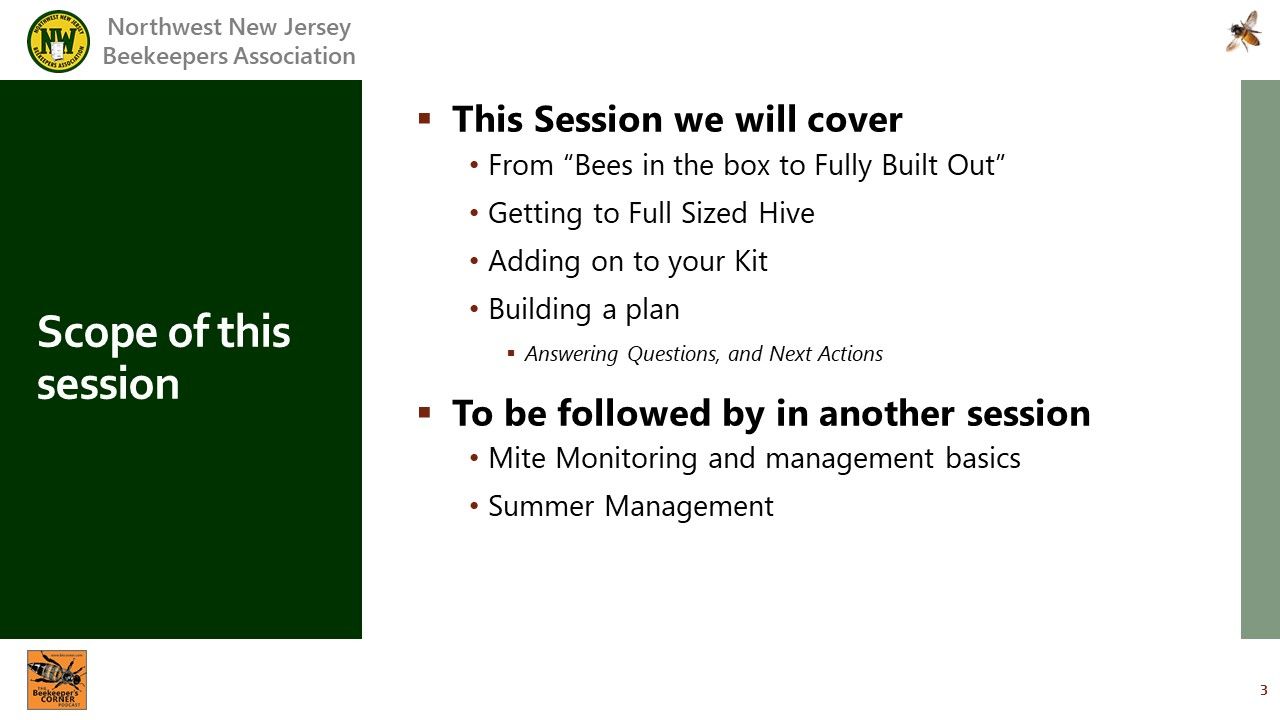
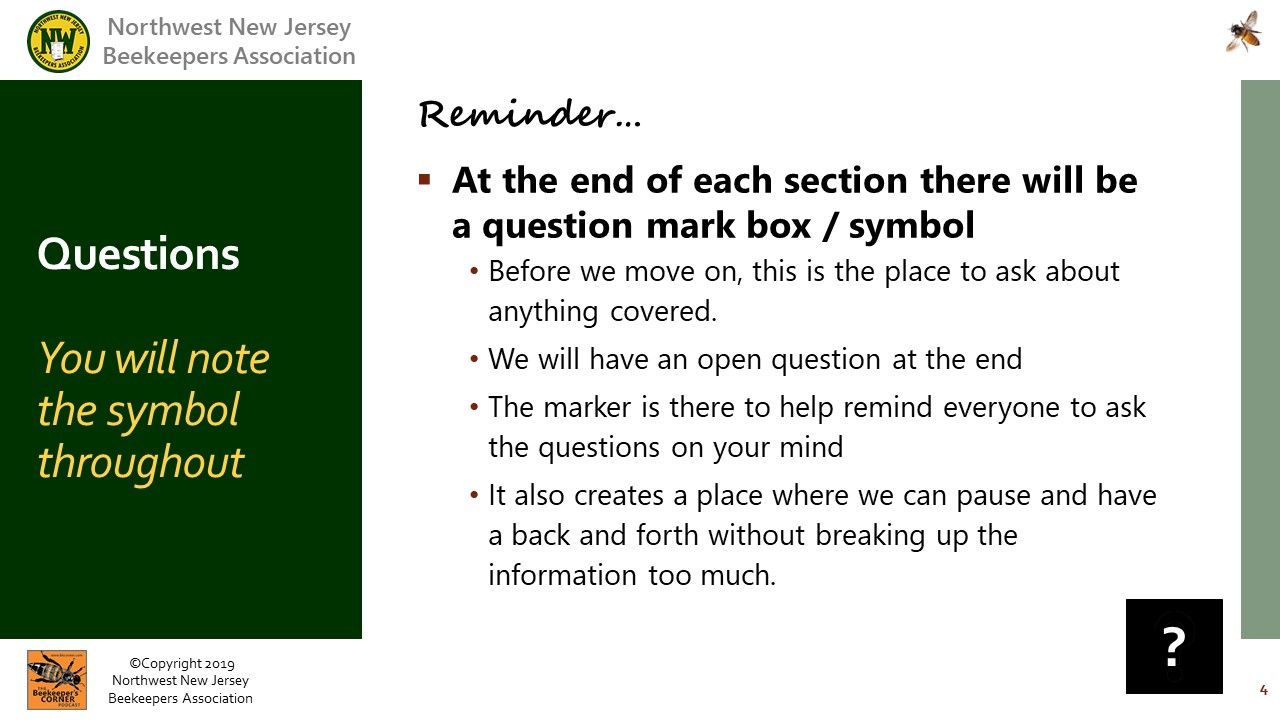
Slide that informs how we handled questions during the presentation
Video Timing: 2:55
Overview of the content in the presentation
Video Timing: 4:57
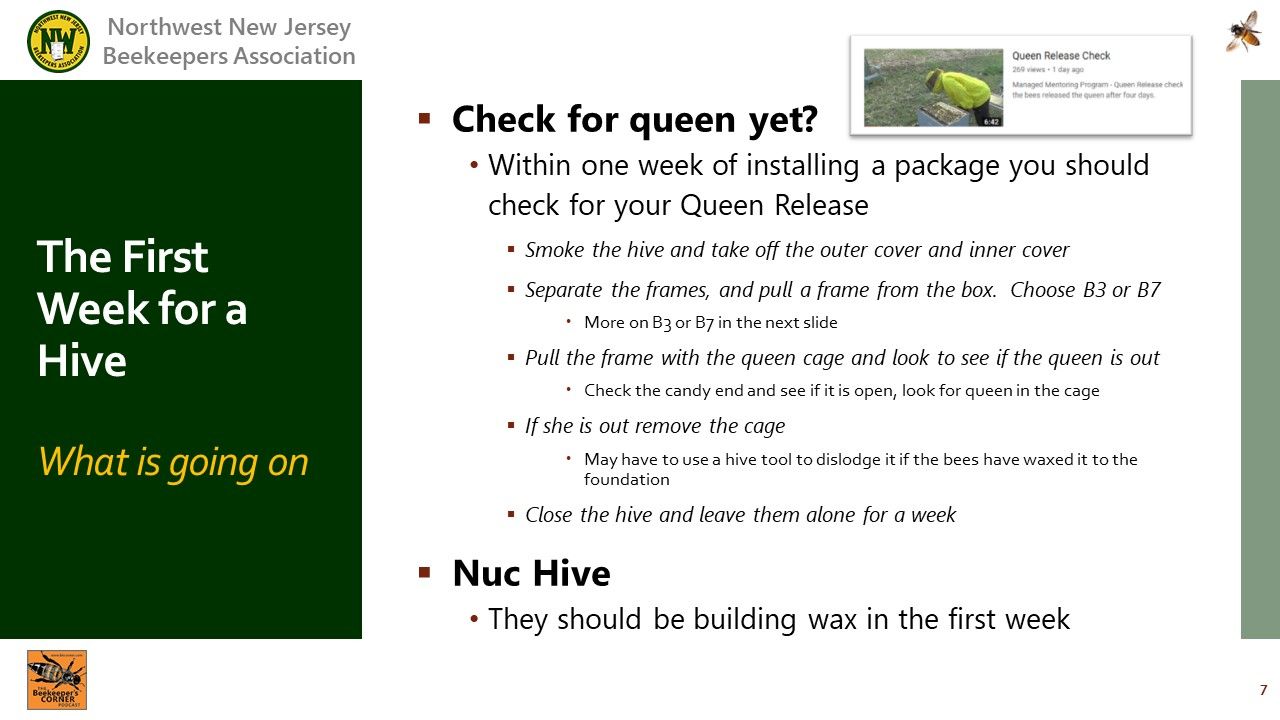
After the package or Nucleus Hive Installs

Video Timing: 5:00
: Ppocess for checking if the queen is out of the cage.
: What the nuc hive should be doing.
Video Timing: 7:37
: A scheme for numbering the frames. Helpful for note taking.

Video Timing: 9:05
: Instructions for if the queen was not out of the cage.
: Ensure the cork is out.
: Consider poking a hole in the candy.
: Still do not receommend a direct release.

Video Timing: 14:49
: The expectation state of a newly installed package hive.

Video Timing: 17:19
: Run through of the expected setup of a hive that has had a package installed.

Video Timing: 21:30
: Recommended timing of hive inspections.
: Information on objectives for inspections.
Video Timing: 26:37
: Further elaboration on objectives.
: Specifically food and signs of brood progressions.
: The best time of day to do an inspection:
How forage impacts hive behaviors.
: Inspect at the height of the day when foragers are out.

Video Timing: 32:09
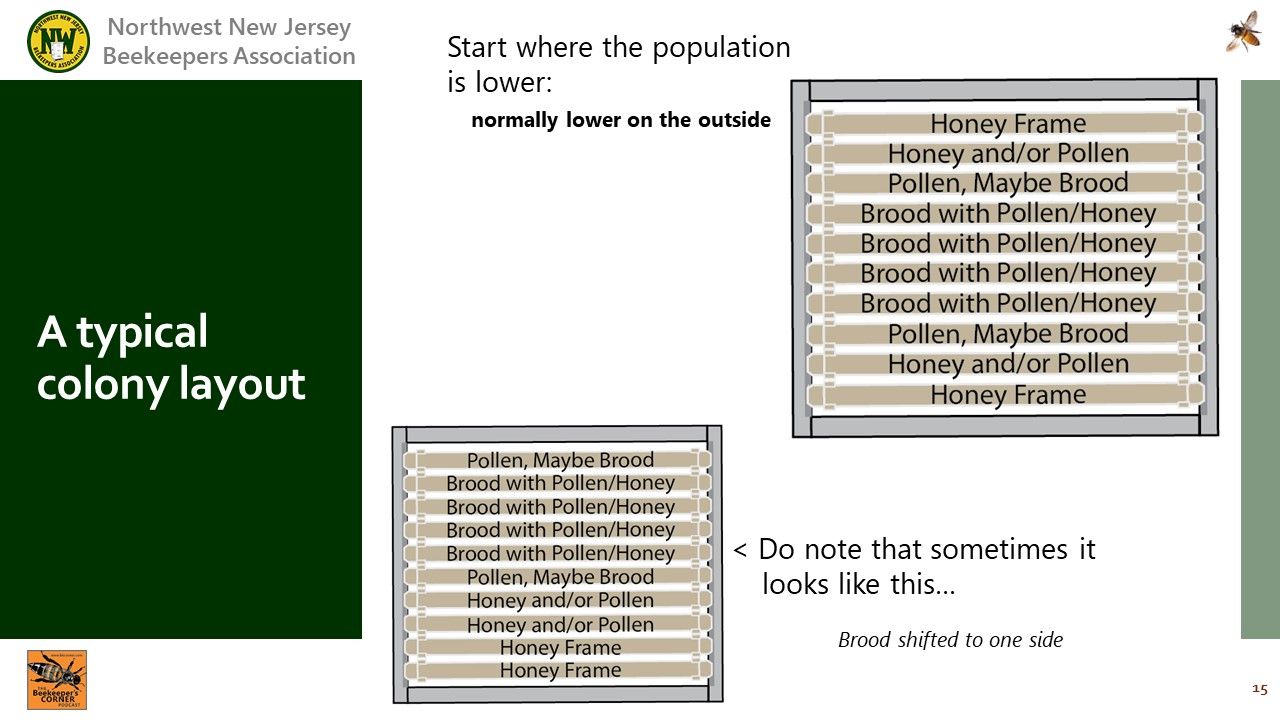
: Where the nest is and a preferences for starting on the outside.
Video Timing: 35:05
: A typical hive population and where resources are placed.
: A note that sometimes a hive will favor one side or another.
: Sun can be a factor to drawa hive to one side.
Video Timing: 37:11
: Prepping ahive for an entry.
: Prefererence is to work from the back of the hive.
: Checking for the queen, who could be anywhere.
Video Timing: 38:39
: How to use the hive tool to extract a frame.
: When you pull a frame, hold it over the hive in cese the queen is there.
: If you find the queen, put her back in the hive.

Video Timing: 42:17
: New fresh comb will have a white or light yellow appearance.

Video Timing: 43:06
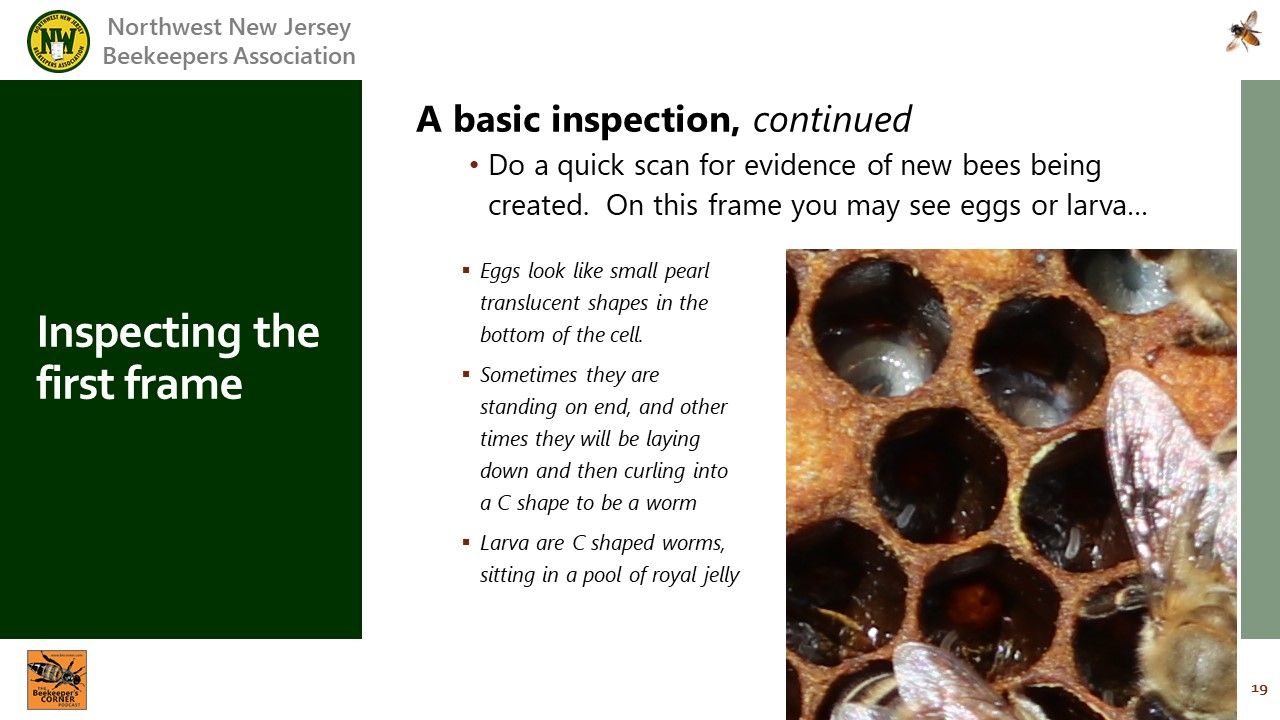
: Preview of what eggs will look like.
: How they will appear in the bottom of the cell and then progress.
Video Timing: 45:16
: Different elements of a brood frame.

Video Timing: 46:00
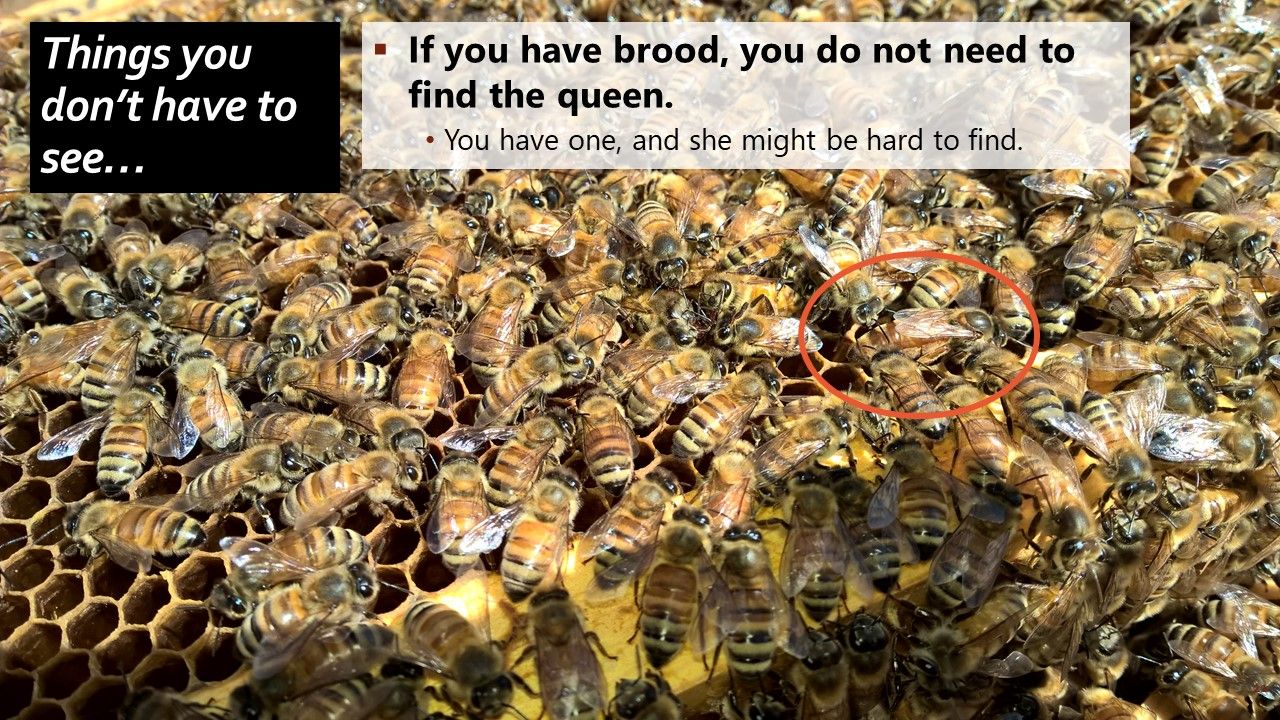
: Queens are hard to find. If you see eggs and larva, it means a queen is operational in the hive.
Video Timing: 46:32
: Inspecting the first frame.

Video Timing: 49:02
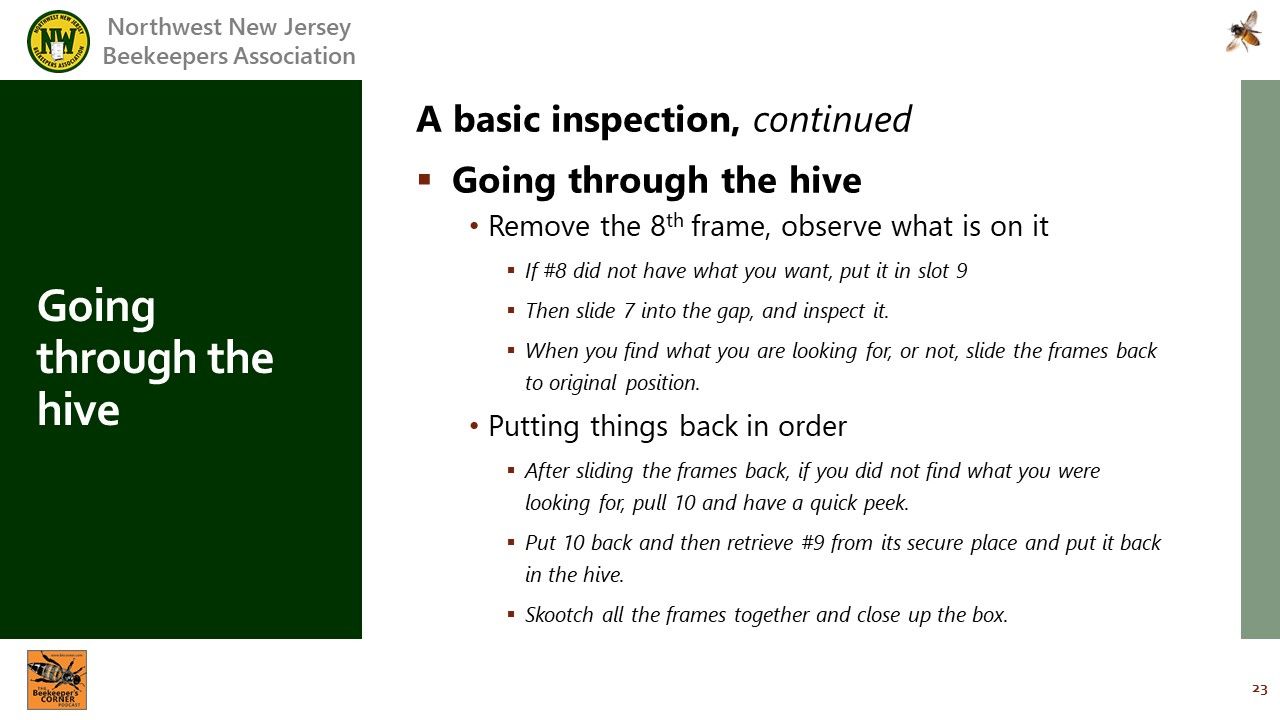
: Traversing the frames. How to move from frame to frame after the first one is moved out.
: Take advantage of the gap created from the first frame extraction.
Video Timing: 50:28
: Using a hive tool to extract the first frame.
Video Timing: 51:07
: Free the first frame, check for the queen over the hive, and then secure it outside of the hive.
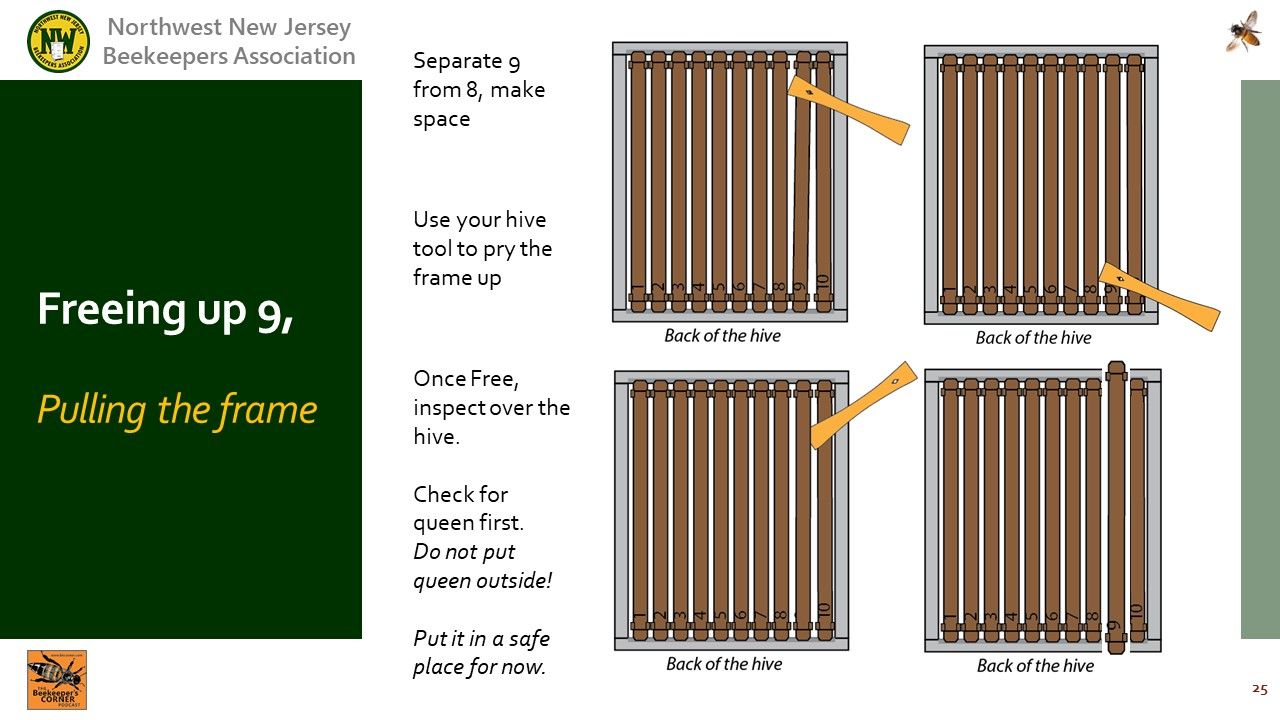
Video Timing: 51:07
: Using a frame hanger, leave the frame away from the hive.
: The gap keesp the frame from coming into contact with the hive and bees transferring to the outside.

Video Timing: 54:05
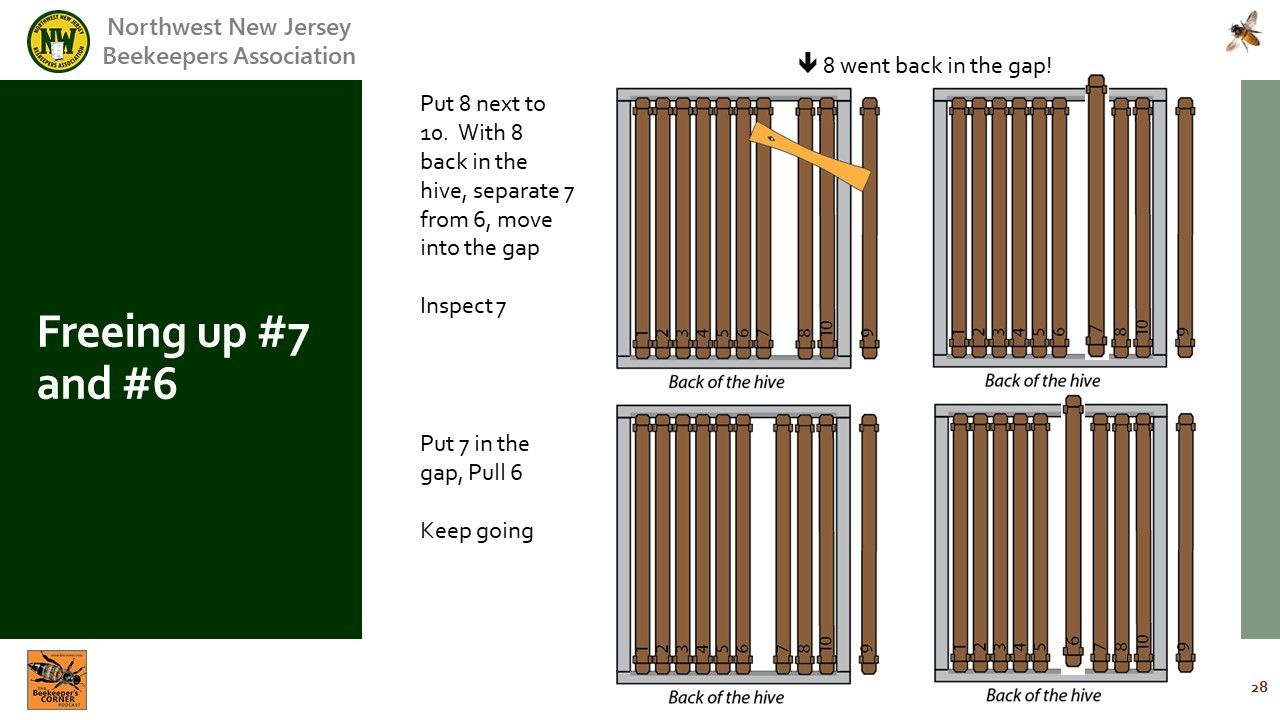
: Moving each frame into the gap for further inspections.

Video Timing: 54:46
: Place the most recent frame inspected back in the gap and tuck it back to the outside.
: Clean the shoulders off if they have propolis on them.
Video Timing: 55:17
: Push all frames together when returning them to their original slots.
: Keep the frames in the same orientation and slot where they came from.
Video Timing: 65:52
: Once all the frames are returned, tighten them up so the shoulders touch.
: Center the frames between the walls.

Video Timing: 81:40
Tip: For this topic, watching the video for this section is probably best
: Take the opportunity, if you spot a queen, to train yourself what a queen looks like on the frame.
Video Timing: 74:55
: Where to find the queen. Thinking about it for best success.
Video Timing: 79:19
Tip: For this topic, watching the video for this section is probably best
: The queen will likely retreat around the margins.

Video Timing: 81:39
Tip: For this topic, watching the video for this section is probably best
: When the hive is incredibly populated, finding the queen is daunting for even a seasoned beekeeper.

Slide 35 is where the second video starts. As such the timing of the slides in the video resets.
Video Timing: 00:00
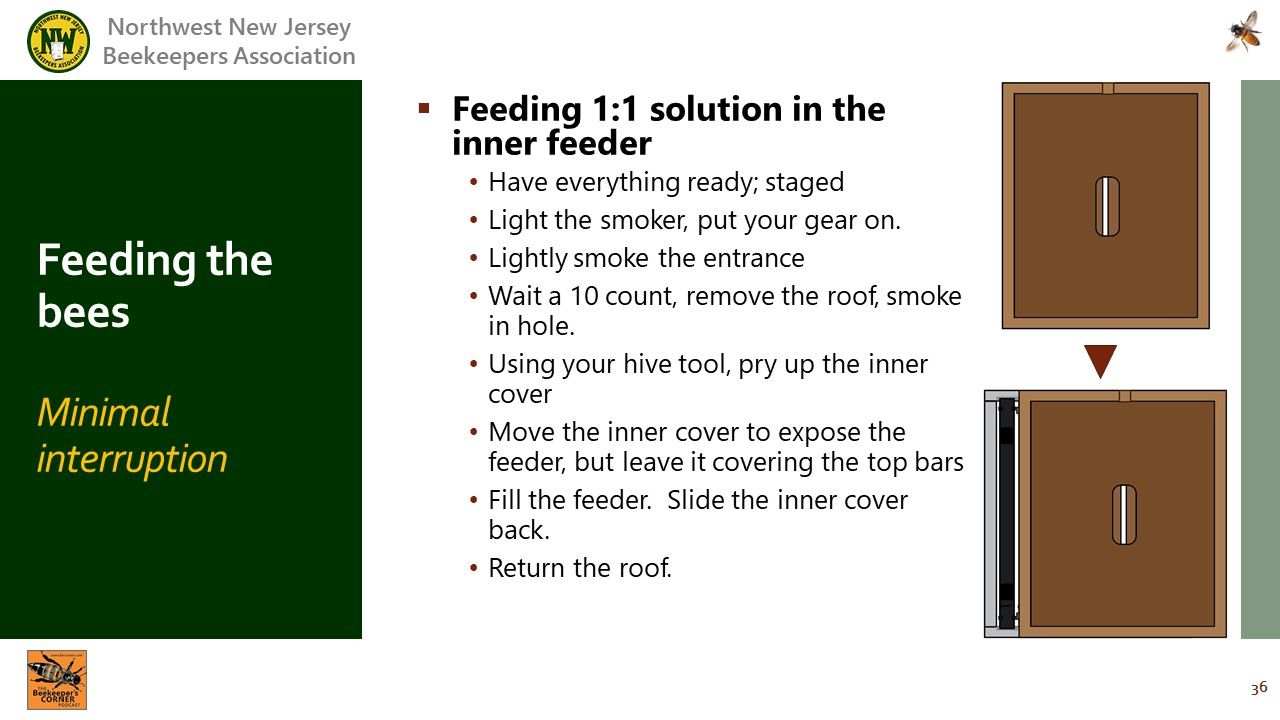
Review feeding bees
Video Timing: 00:43
: Providing food by replenishing the inner feeder.
: Minimal disruption with this process.
Video Timing: 03:25
: Feeding, the benefits to the bees. They need carbs to build comb.
: Pollen comes from nature during the spring. Pollen subs are not usually needed.
: If you do feed, keep the patties small.

Video Timing: 08:23
: In time you should switch to the big feeder.
: Instructions on use. Do not overload.
: Put it on when there is little chance of the food getting chilled.

Video Timing: 11:23
: It has to be removed from teh top for inspections
" Again, do not overload it.
: Can get heavy and liquid can turn modly if too much.
Video Timing: 12:12
: We have found that Arizona iced team jugs make good feeder containers.

Video Timing: 12:46
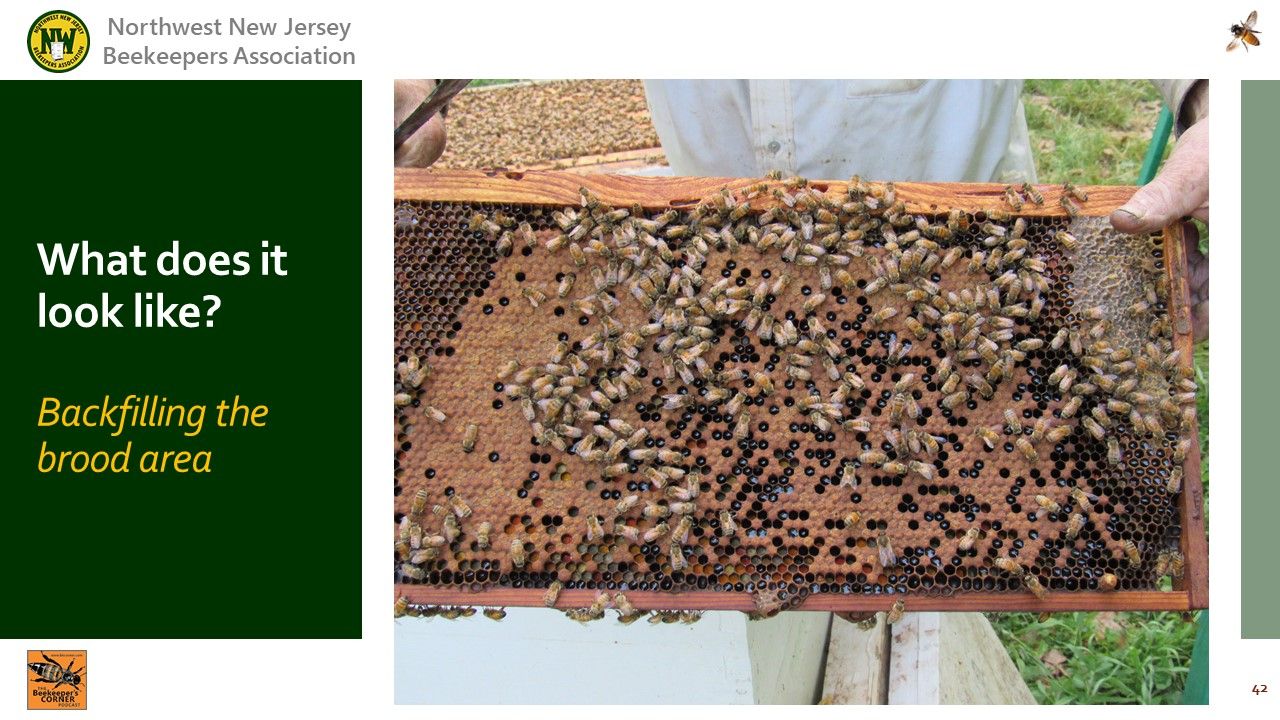
: If you feed to much, they fill the brood area with nectar/sugar solution.
: Resembles black pearly glass in the cell..
Video Timing: 14:11
: Feeding too much can ultimately lead to filling the brood area and preventing the queen from laying eggs.
Video Timing: 14:51
: This frame is an extreme example ofa beekeeper who fed so much that his hive swarmed.
: Shows an extreme condition of over feeding and the queen was prevented from using the fame as a brood nest.

Video Timing: 16:13
: Keep feeding until two boxes are completely drawn out.
: If it goes well you can possibly put honey supers on the hive and have them draw them out too.
Video Timing: 17:27
: Be sure to provide a water source for your bees.
: We recommend a pail with holes. The holes prevent the floaties from overflowing.
: This is one time where a boardman feeder comes in handly. Use it to provide water at the entrance.
: Boardman feeders are not recommended for feeding solution as it draws predators and robber bees to the entrance.
Video Timing: 23:23
: Covering what is not normal and what to do about it.

Video Timing: 23:47
: Things that will happen, what to observe and what may occur.
: If you have problems contact your mentor.
Video Timing: 27:27
How the colony will grow and what to expect.
Video Timing: 27:45
: A second box is to be added when the box has 7 frames built out (8 without an internal feeder)
: What contstitutes built out? Outer most frames have bees, comb, and resources stored in them.
Video Timing: 29:53
: When adding a second box, move the feeder and adjust the outer frames.
: Feeder comes to the upper box.
:Outer, likely foundation frames, get moved inside so the bees build them out.
Video Timing: 32:42
: Visuals to be encountered during inspections
1. Drones - large barrel shape, big eyes, wings to the tail.
2. Queen - long tapered shape, large black thorax dot, wings part way down the abdomen.
3. New bees - ivory in color, downy looking, soft - not hardened off yet.
4. Drone brood, bullet shaped comb
Video Timing: 36:18
1. Extra wax in spaces where gaps are left. Especially under the feeders.
2. This is what a queen cell looks like.
3. Normal progression of brood emergence from the middle of a frame. Center out...
4. Burr or brace comb. Will often be drone brood cells which will break open and leave drone pupa on the top bars.
Video Timing: 41:56
1. Pollen pellets stored in comb
2. White wax covering capped honey
3. Bearding - bees covering the outside of the box or hanging from the front entrance.
4. Guard bees - patrolling the entrance.
Video Timing: 45:00
: It is plausible to see frames built out in haphazard ways. This frame is a mix of regular and dronte brood comb. It is how these bees wanted it and there is no problem with it.
Video Timing: 45:36
: This is a very typical brood frame and has a rainbow layout:
- Capped honey and/or nectar in the corners
- Brood in an upsidedown arc from the bottom edge of the frame.
- A rainbow of pollen stored to feed the brood.
Note: honey here is more excessive than most times. Usually the corners are a little smaller than observed in this frame. Must have been a good honey year!
Video Timing: 46:51
: This type of trame typifies the center of the brood nest.
: During hte courseo f the season you will see it full like this photo and empty, but being prepped for the queen to come back in and lay more eggs.
Video Timing: 47:15
What equipment to prepare for the build out and a hypothetical timing of events.
Video Timing: 47:23
: Things to obtain if you do not have them in your cart or kit.
: We also recommend a frame hangar.
Video Timing: 48:27
: One week inspection to start
: Two week inspection intervals therafter
: General range for second box buildout forecast.
: Timing of mentor visits
: Two full boxes and maybe more by the end of the spring nectar flow in early July
Video Timing: 51:29
: We will cover later activities in the year at other times.
: But taking a glimse, summer management, building winter bees in fall, winterization in late fall.
Video Timing: 55:39
Suggestions for keeping notes, and what to keep track of
Video Timing: 55:42
: Overviewing the basics of keeping records.
Video Timing: 56:39
: Recommendations on what to keep records on and specifically when to record them.
: Maintaining a single to-do list.
Video Timing: 60:47 - out of order
: The form designed and used by Kevin.
: Overview of its design and layout.
Video Timing: 59:44 - out of order
: Layout out a plan before you go out to work bees.
: Being organized makes you a better beekeeper.
Video Timing: 93:00
What to expect from our summer mentor visits
Video Timing: 62:18
: Timing and why that time.
: What will happen
: Goals and objectives of the visits
Video Timing: 63:24
: We are evaluationg options for having a place for collaboration.
: May require your registration. More to come on this as we evaluate possibilities.
Video Timing: 64:49 - 80:22
: Questions from beekeepers in the auidence.